The following is an article produced by Growers Network. This article is for educational purposes only. We do not claim any responsibility for any legal or financial repercussions of your decisions. Always consult with a lawyer or attorney before making a decision that could have a legal consequence!

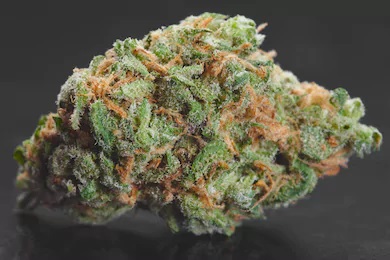
Welcome back beginning grower! Today we’re going to talk about how to cure your Cannabis. Cure? What do you mean? Is it sick? No! Not what we mean by cure here. Curing Cannabis is a prolonged process of drying your buds in a controlled environment. Wait, didn’t I already dry this stuff? Yes, an initial drying comes before the cure, but curing is a different part of the cultivation process, and there are some good, practical reasons for putting in the extra time for the cure. What are they? Glad you asked!
Why Cure Your Cannabis?
There are three major reasons experienced growers recommend curing your Cannabis:
- Increased Potency – Curing Cannabis gives time for compounds to be converted into new forms and percentage blends.
- Flavor/Smoke quality- slow curing improves the flavor of your Cannabis by assuring the terpenes (natural smell and flavor chemicals) don’t evaporate away the way they will in a fast dry (See: Volatile Organic Compounds). The flavor is also improved by allowing for the breakdown of any remaining chlorophyll and sugars that can affect the taste of your Cannabis.
- Preservation – Curing allows your weed to stay fresh and potent for much longer. By removing excess moisture, your Cannabis can be stored in an airtight container for up to two years without a loss of potency.
So now you know the whys, but what about the hows? Buckle up because here we go!
How to Cure Your Cannabis
Curing takes place after your initial drying and trimming, which if you read our trimming article, you know that you can trim before OR after the initial dry, and there are advantages to either. Regardless of the order you trim in, you will begin the prolonged curing process after drying and trimming your Cannabis.
A note on the initial drying
As previously mentioned, you’re going to do an initial dry of your Cannabis before curing. Ask ten growers how long and under what conditions to dry and you’re bound to get ten overlapping answers because conditions can vary by location. You should plan for 1-2 weeks with a temperature between 60-70 degrees Fahrenheit (15-21 Celsius) and a humidity level between 45 and 55 percent. Remember, your own drying may take a little less or a little more time depending on where you are, so be sure to monitor closely! You don’t want to begin with buds that are too moist.
The Process
So how do you know you’re ready to cure?
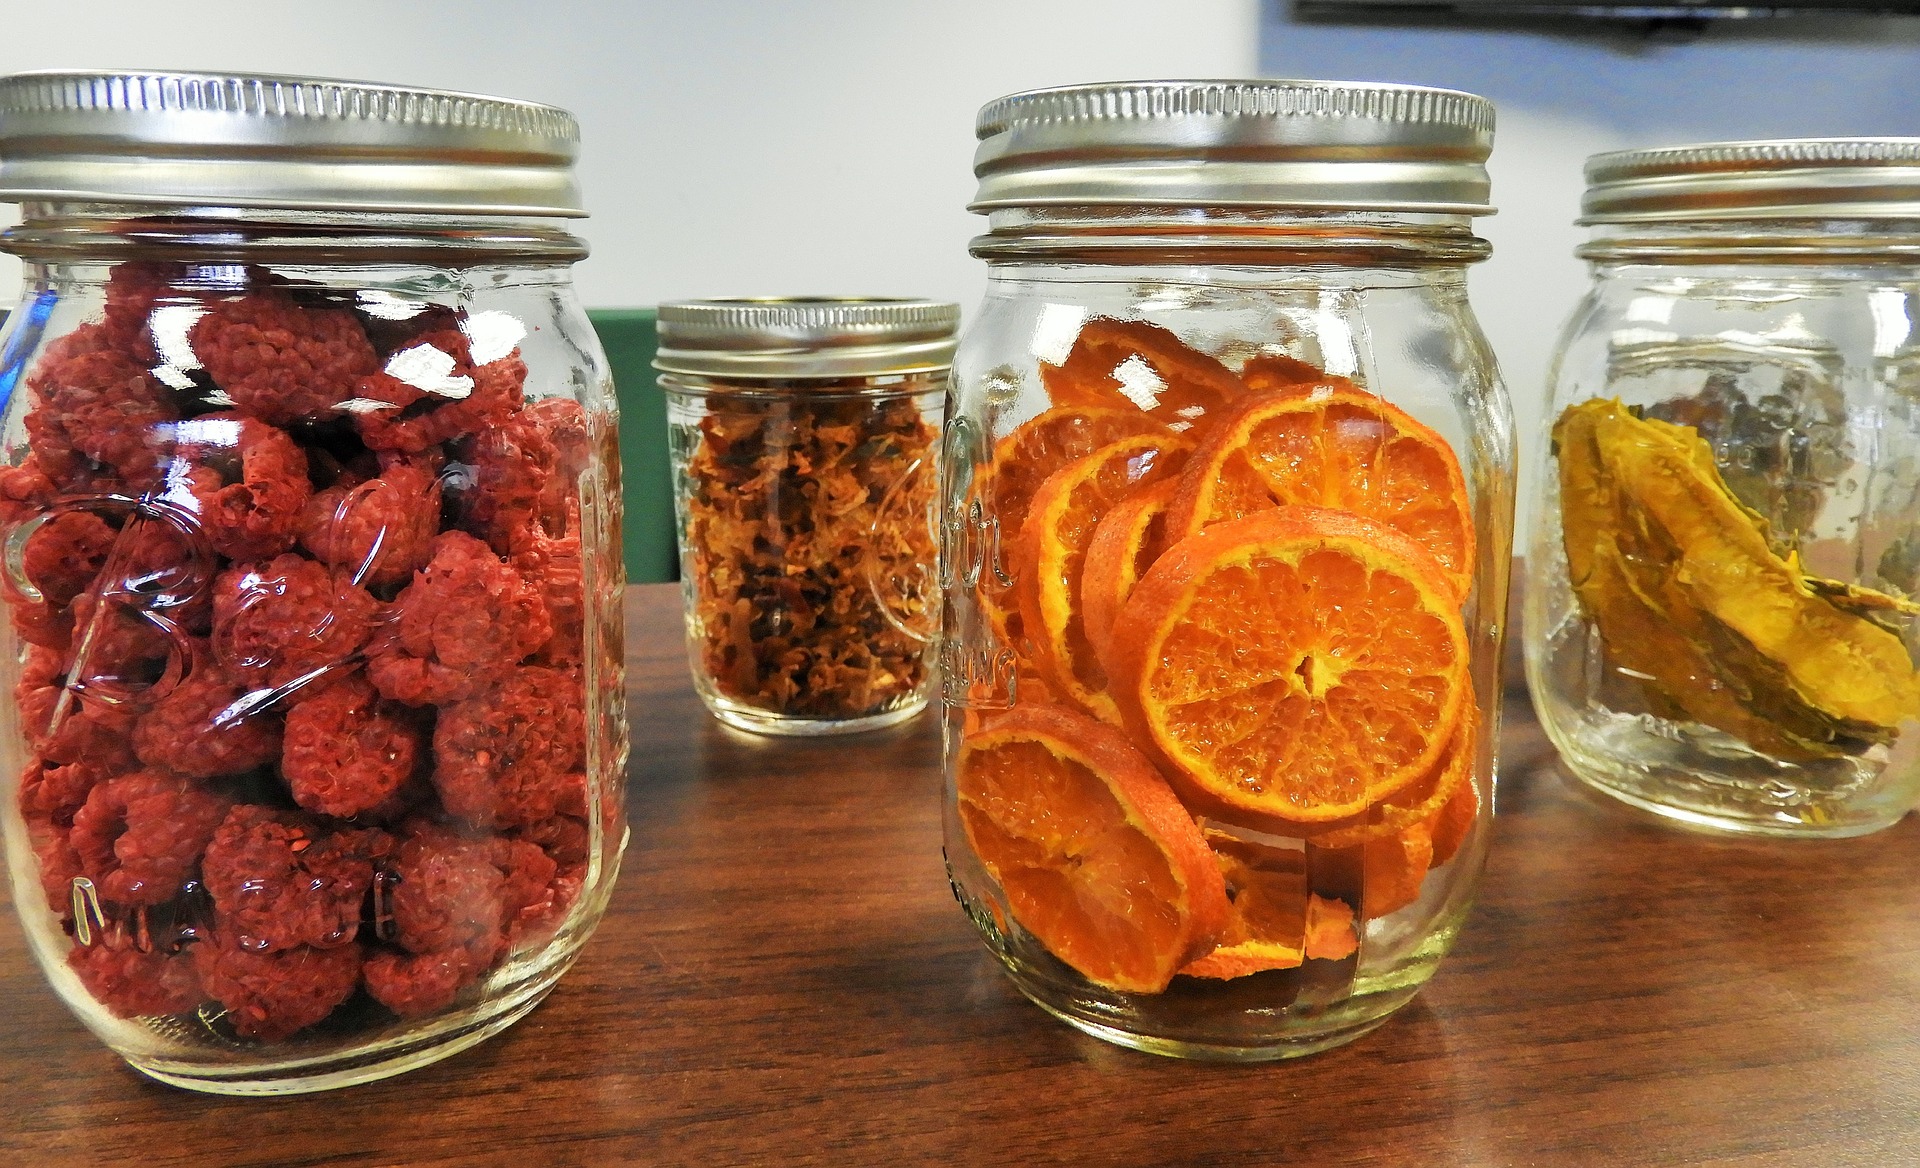
When your buds feel dry to the touch and the outside layer is a bit crispy, you’re ready to cure. Small stems will snap under pressure while larger stems will still flex a bit. The fact that these larger stems don’t break means they are still partially hydrated, which is good because we need a little moisture in the stems for the curing process. The method below calls for wide mouth, quart size mason jars. These jars are airtight, but because they’re clear you’ll need to have a dark place (closet, cupboard) to keep your buds during the cure. You can fill the jars with your buds, but don’t pack them too tightly, as they need air to “breathe”. If you prefer something airtight that’s also it’s own dark space, you may be interested in a curing bucket or a CVault storage container.
Short Cure — Keep the buds in the jars for 2-4 weeks
After your initial dry, your buds are going to smell like fresh cut grass and if you smoke them that’s about what they’d taste like. Cannabis curing is going to take care of this, while bringing out the more subtle flavors and smells you want from your buds. Additionally, this first stage cure is going to make for a much smoother smoke and can increase the potency of your harvest. After you’ve put your buds in the jars and placed them in a dark place for curing, there’s really not much to do but monitor the process. Check your buds by opening up the jars at least once a day. This is crucial during the beginning of the process since we don’t want the remaining moisture to facilitate mold growth. If your buds feel wet or moist when you check them, leave the jar open for 20 minutes to 1 hour (or until the buds are dry to the touch).
When curing, some growers recommend removing the buds from the jars completely and placing on a screen to dry. Either way, when the buds are dry you can close up the jars and put them back in the dark. Never put the buds back wet, because that’s how you get mold. It should be mentioned that it’s normal for your buds to feel wet periodically through the first stage of curing. This is a good thing because it means you didn’t overdry your buds during the initial drying process. However, the fact that there is moisture means you will have to regularly monitor and “burp” your jars.
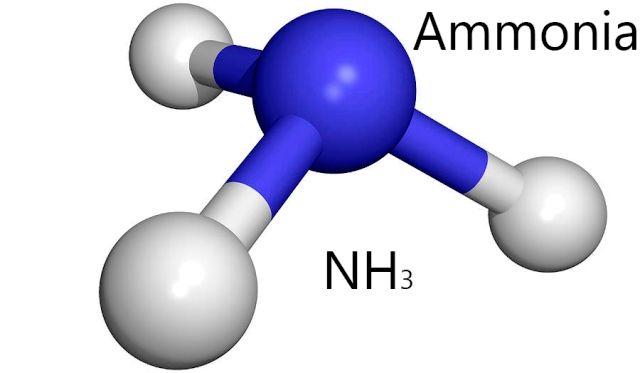
Important Note: If you open your curing jar and smell ammonia, your buds are not dry enough to begin curing. Remove these from the jar and resume your initial drying until your buds are dry enough for curing.
Two weeks is considered the minimum amount of time for curing, but many growers cure longer. The important part of a short cure is opening your jars regularly for the first 2-3 weeks. This can’t be stressed enough. Now that you know about a short cure, you may wonder, “is there a benefit to curing longer than the recommended 2-4 week short cure?” Glad you asked new grower! Aren’t you smart?
Long Cure — Keep buds in the jars for 4 weeks to 6 months
Most growers are going to recommend a cure beyond 4 weeks. A longer will cure will result in more potent buds and an increased smoothness of the smoke. A longer cure will also bring out additional subtle flavors and smells from your buds. A long cure isn’t that different from a short cure, just longer (duh) and with a smaller premium on the monitoring. It’s still a good idea to check your buds from time to time but you can generally let your guard down a bit with regard to mold growth. If you choose this longer cure, you can sample your buds periodically and note any differences in flavor, smell, and potency for yourself.
Keep in mind that a longer cure will likely result in a color change in your buds. Don’t be alarmed if those greens and purples fade a bit, you haven’t lost anything by way of potency or flavor.
All right new grower! Now you know the basics of Cannabis curing. Make sure to check out or other articles on more advanced methods. Happy curing!
 Do you want to receive the next Grower’s Spotlight as soon as it’s available? Sign up below!