How to Grow Cannabis 219 – Integrated Pest Management

In this article, Growers Network discusses the basics of Integrated Pest Management as a solution to pest control in your grow operation.

The following is an article produced by Growers Network. This article is for educational purposes only. We do not claim any responsibility for any legal or financial repercussions of your decisions. Always consult with a lawyer or attorney before making a decision that could have a legal consequence!

Let’s get integrated!

Integrated Pest Management (IPM) is a tested and effective approach to pest control that takes an environmentally sensitive, common sense approach to dealing with pest infestations. IPM uses a variety of strategies that focus on the pest life cycle and its interaction with the environment. Gone are the days of indiscriminate spraying of pesticides that, when relied upon exclusively, can actually make an infestation worse in the long term. The underlying goal of IPM is to control pests economically while at the same time posing the least amount of damage to people, property, and the environment.

ipm

Do you want to learn how to grow cannabis? Check out Growers Network University!


How does IPM work?

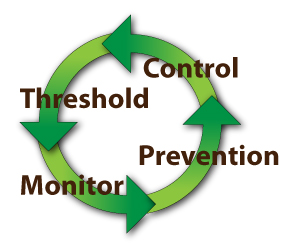
IPM is more than a single method or strategy. As previously mentioned, it’s a combination of monitoring, data collection, and reporting that inform pest management decisions. IPM typically utilizes the following approach, made up of four parts.

  1. Action Thresholds: Determine at what level a species becomes a problem. This could be at a certain amount of crop loss or economic damage.
  2. Monitoring/Identification: What pests are present and in what kind of numbers? How do we identify the pest and watch for it?
  3. Prevention: Manage space/environment to prevent infestations. This could be as simple as changing into work clothes on-site, or as complex as a negative pressure design to remove pathogens from a facility or room.
  4. Control: When necessary, apply the least harmful technique available to reduce pests. By least harmful, we mean the fewer harmful chemicals used, the better.

Let’s talk about each of these in a bit more detail…


1. Action Thresholds

An action threshold simply means determining what level of a pest species is acceptable before an action needs to be taken. Determining the level that the pest becomes economically harmful is important for determining specific pest control decisions. While pre-IPM strategies might involve a regularly scheduled application of pesticide, determining action thresholds saves money and is better for the environment. An action threshold is essentially a cost/benefit analysis. If there is some minor damage from a grasshopper or two that snuck into the facility, we don’t need to overreact and spray the whole facility.


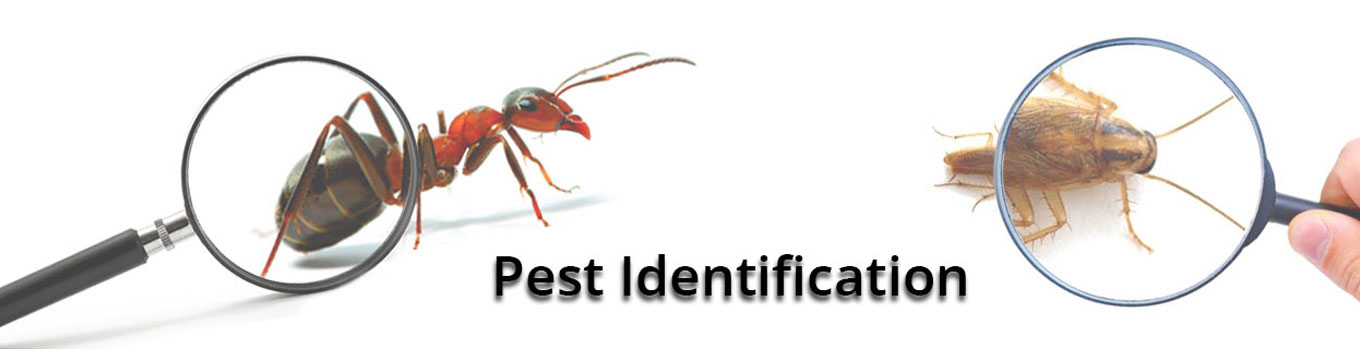
2. Monitoring/Identification

Not every organism you find is going to require control due to the fact that they don’t cause harm. You can understand how wasteful and irresponsible it would be to treat a harmless species as an “infestation.” By determining which species are present and in what numbers, you can determine what action should be taken, if any. This goes hand in hand with the action thresholds; through monitoring known pests, we can know when it’s appropriate to apply the safest, most effective, and most appropriate control strategy.
pest id

3. Prevention

By managing the environment, we can prevent some infestations from becoming a threat at all. This might include specific strategies such as using pest resistant crop strains and rotating crops, but it can also include things like sealing up windows and cracks, removing debris that could attract pests to your location in the first place, or keeping humidity low to prevent fungal outbreaks. For example, moving a woodpile away from a building will reduce the chance of a termite infestation.


4. Control

If the monitoring/identification protocols inform us that our action threshold has been met, it’s time to implement a control. A good IPM program will then employ the most effective control strategy that also present the least amount of risk. This may include something as simple as hand picking individual pests from plants and using highly targeted viruses that disrupt the pest life cycle. Another strategy would be the introduction of a beneficial insect species or microbe that would combat an infestation naturally (IE Ladybugs v. Aphids). If continued monitoring determines that the less risky control methods aren’t working, a targeted pesticide might be used, and if all else fails, a broadcast spraying of a more general pesticide may be used, but typically this is only done if all else fails.

control


There you have the basics of IPM. As you plan/implement your grow operation, you should definitely be incorporating these types of practices. Not only will you help the environment and save money on chemical treatments, but you’ll be able to combat pests before they really start to BUG you.



Do you want to receive the next Grower’s Spotlight as soon as it’s available? Sign up below!


Do you have any questions or comments?

Do you have any questions or comments?

Feel free to post below!


About the Author

About the Author

Chris DeWildt is a graduate of Grand Valley State University and Western Kentucky University. He worked in education and publishing for ten years before joining the team at Growers Network. In addition to editing the GN blog, Chris also works on the Canna Cribs series.


How to Grow Cannabis 153 – Introduction to Bud Rot

In this how-to article, Growers Network explains what bud rot is and how you can prevent it.

The following is an article produced by Growers Network. This article is for educational purposes only. We do not claim any responsibility for any legal or financial repercussions of your decisions. Always consult with a lawyer or attorney before making a decision that could have a legal consequence!


One Rotten Bud to Spoil the Bunch


Hello new grower. Today we’re going to cover a topic that we hope you can avoid rather than deal with, and that topic is a fungus called Botrytis cinerea, commonly referred to as “bud rot” and in other industries is referred to as “gray mold,” and in certain applications of winemaking, a little of this type of rot is actually beneficial.


Do you want to learn how to grow cannabis? Check out Growers Network University!


But we’re not talking about making wine. We’re talking about growing cannabis, and when it comes to cannabis, bud rot is always bad. Understood? Okay, let’s deal with some bud rot!

apples
That old saying about bad apples? It applies to your buds too.

Bud Rot: What is it?


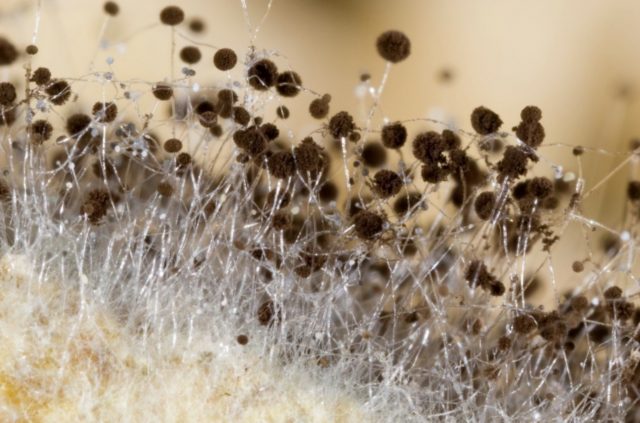
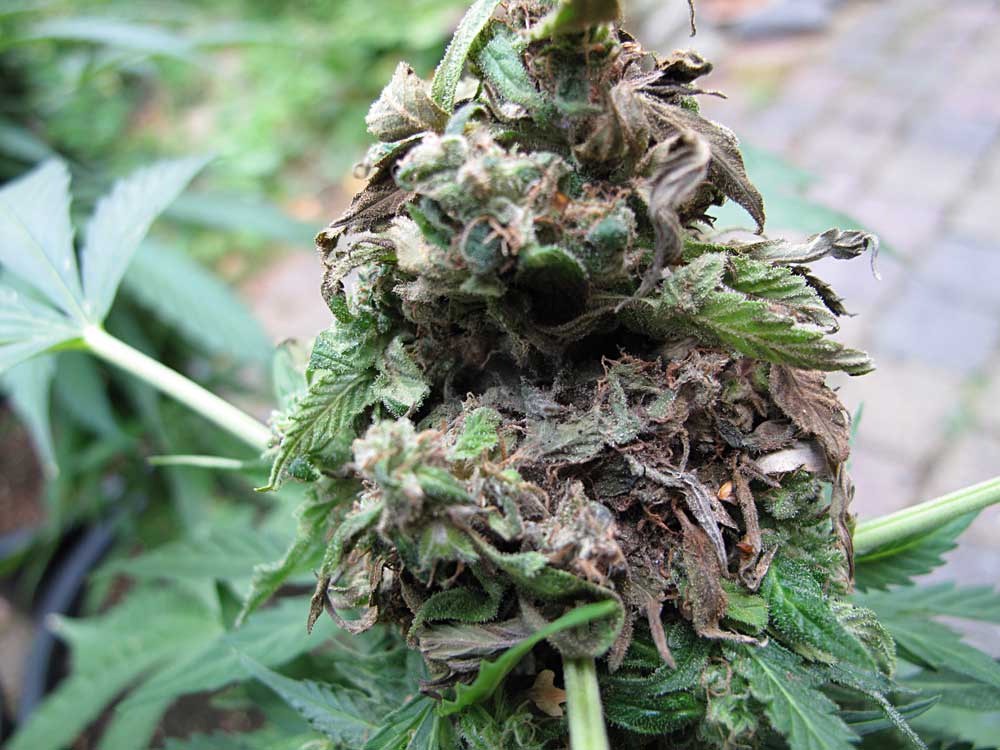
Bud Rot is a fungus that affects the flowers (buds) of your cannabis plant. It begins growing on the stem inside the bud and spreads outward, and as a result it can be very hard to detect. As bud rot grows, it destroys the surrounding bud, eventually producing spores to transmit to nearby buds, turning what remains into slimy mush in the process. Note: It’s important to note that infected buds are not safe for consumption and should be disposed of immediately.

rot
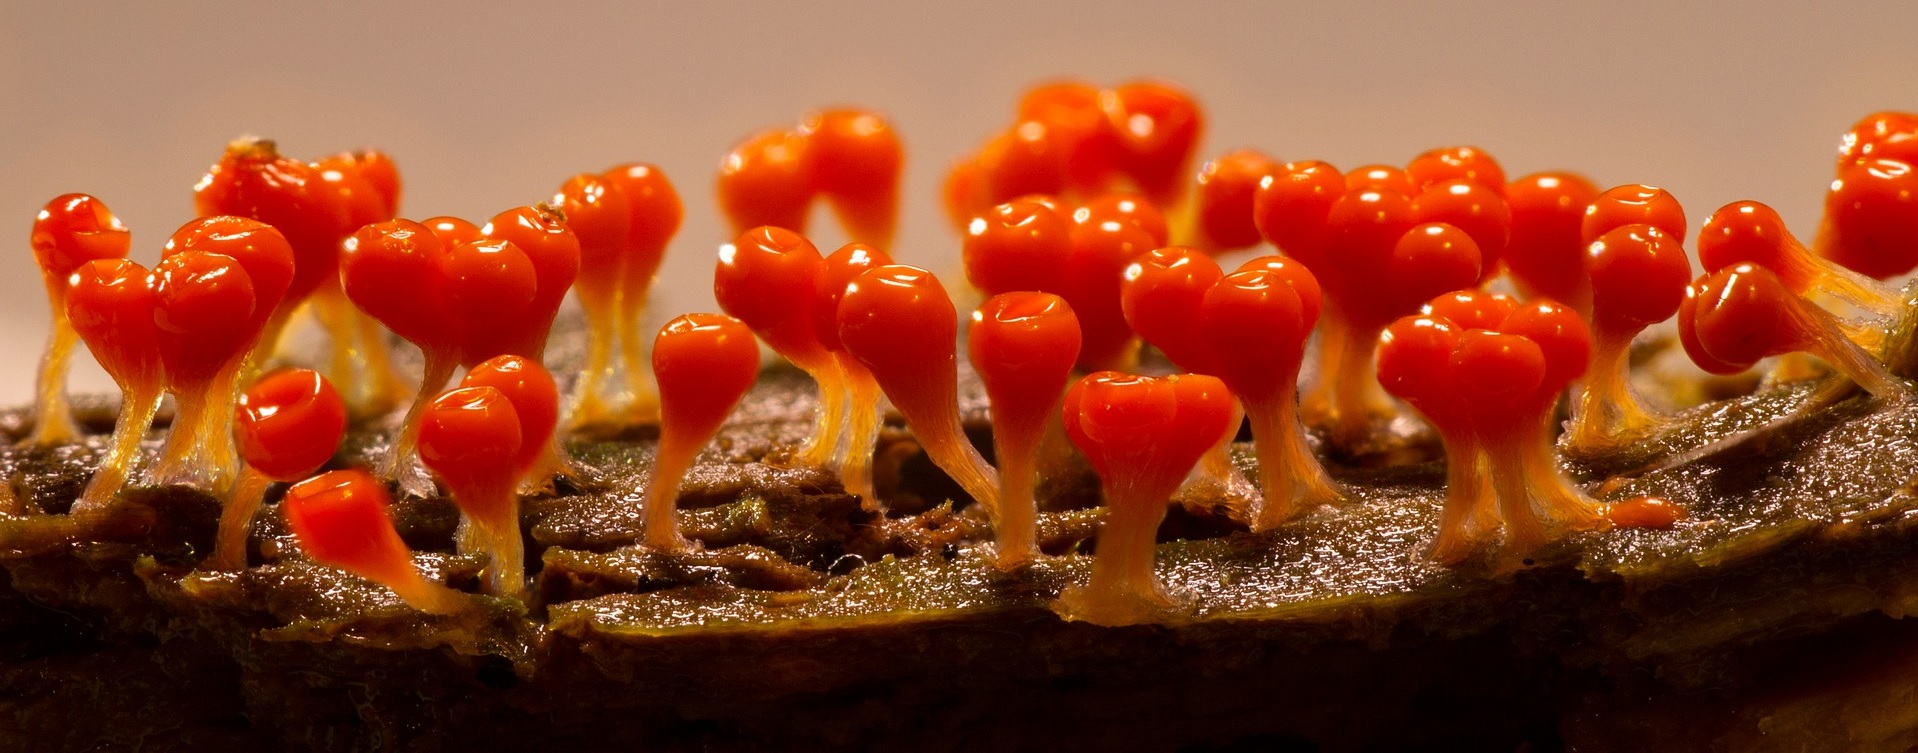
Meet bud rot. This fungus destroys Cannabis flowers.

How to Prevent Bud Rot


As mentioned above, bud rot is a fungus, so if we control the conditions that allow fungus to thrive, we can greatly reduce the chance of an outbreak. Below is a short list of bud rot’s favorite things:

1. Humidity

  1. Fungi needs a high humidity to thrive. Keep your humidity around or below 50% RH to prevent bud rot.
  2. Remove any standing water that can evaporate and raise the humidity around your plants.
  3. Do not spray any liquid water directly onto your leaves or buds.
  4. Consider a dehumidifier to continuously remove excess moisture from the air.

2. Cool Temperatures

  1. Cool temperatures are an invitation for bud rot, particularly if there’s humidity or excessive water.
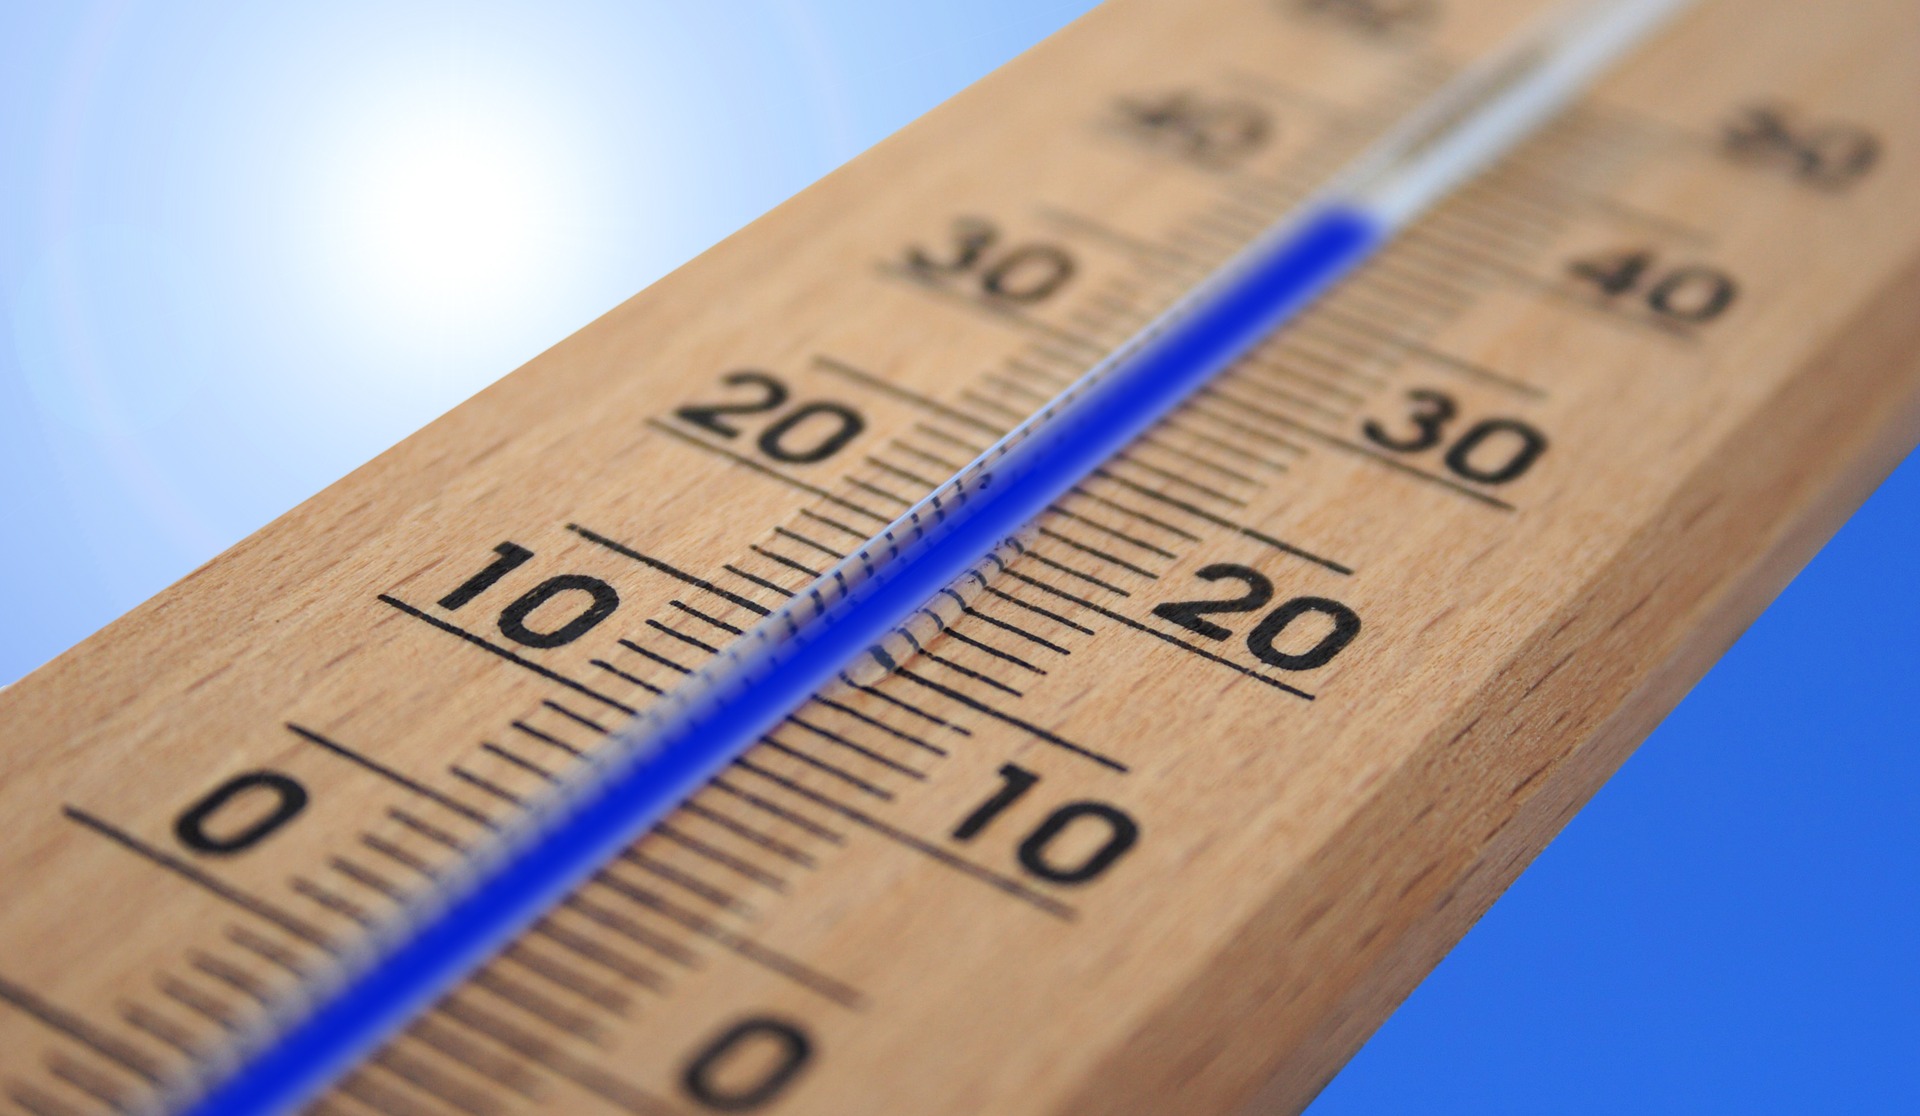
  2. Temps should be kept at a minimum of 70 degrees Fahrenheit (21 degrees Celsius) to prevent bud rot.
thermometer

3. Stagnant Air

Bud rot tends to take hold in environments with very little air flow, and good circulation of air will go a long way toward prevention. Use a fan to generate continuous air flow.


Is Bud Rot Treatable?


Unfortunately there is no treatment to cure bud rot. This is why prevention is so important. If you discover bud rot in your grow operation, you should remove the affected bud(s), being careful not to let the affected buds come into contact with other buds. You may have to remove an entire plant if the bud rot is widespread. Do not shake or otherwise cause the infected portions to vibrate — doing so may release spores.

botrytis
Macro view of the fungus Botrytis cinerea or “bud rot”


Well there you have it. Bud rot is serious business. The good news is that you can take steps to prevent it. By controlling the conditions that allow bud rot to develop and spread, you can reduce your chances of an outbreak. Happy growing!


Do you want to receive the next Grower’s Spotlight as soon as it’s available? Sign up below!


Do you have any questions or comments?

Do you have any questions or comments?

Feel free to post below!


About the Author

About the Author

Chris DeWildt is a graduate of Grand Valley State University and Western Kentucky University. He worked in education and publishing for ten years before joining the team at Growers Network.


How to Grow Cannabis 170 – Basics of Curing

In this how-to-grow article, Growers Network explains the basics of curing Cannabis for the beginning grower.

The following is an article produced by Growers Network. This article is for educational purposes only. We do not claim any responsibility for any legal or financial repercussions of your decisions. Always consult with a lawyer or attorney before making a decision that could have a legal consequence!


Do you want to learn how to grow cannabis? Check out Growers Network University!


Welcome back beginning grower! Today we’re going to talk about how to cure your Cannabis. Cure? What do you mean? Is it sick? No! Not what we mean by cure here. Curing Cannabis is a prolonged process of drying your buds in a controlled environment. Wait, didn’t I already dry this stuff? Yes, an initial drying comes before the cure, but curing is a different part of the cultivation process, and there are some good, practical reasons for putting in the extra time for the cure. What are they? Glad you asked!

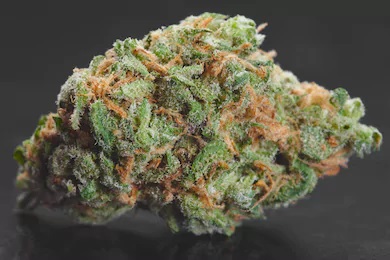
bud

Why Cure Your Cannabis?


There are three major reasons experienced growers recommend curing your Cannabis:

  1. Increased Potency – Curing Cannabis gives time for compounds to be converted into new forms and percentage blends.
  2. Flavor/Smoke quality- slow curing improves the flavor of your Cannabis by assuring the terpenes (natural smell and flavor chemicals) don’t evaporate away the way they will in a fast dry (See: Volatile Organic Compounds). The flavor is also improved by allowing for the breakdown of any remaining chlorophyll and sugars that can affect the taste of your Cannabis.
  3. Preservation – Curing allows your weed to stay fresh and potent for much longer. By removing excess moisture, your Cannabis can be stored in an airtight container for up to two years without a loss of potency.

So now you know the whys, but what about the hows? Buckle up because here we go!

buckle

How to Cure Your Cannabis


Curing takes place after your initial drying and trimming, which if you read our trimming article, you know that you can trim before OR after the initial dry, and there are advantages to either. Regardless of the order you trim in, you will begin the prolonged curing process after drying and trimming your Cannabis.

A note on the initial drying

As previously mentioned, you’re going to do an initial dry of your Cannabis before curing. Ask ten growers how long and under what conditions to dry and you’re bound to get ten overlapping answers because conditions can vary by location. You should plan for 1-2 weeks with a temperature between 60-70 degrees Fahrenheit (15-21 Celsius) and a humidity level between 45 and 55 percent. Remember, your own drying may take a little less or a little more time depending on where you are, so be sure to monitor closely! You don’t want to begin with buds that are too moist.


The Process


So how do you know you’re ready to cure?

When your buds feel dry to the touch and the outside layer is a bit crispy, you’re ready to cure. Small stems will snap under pressure while larger stems will still flex a bit. The fact that these larger stems don’t break means they are still partially hydrated, which is good because we need a little moisture in the stems for the curing process. The method below calls for wide mouth, quart size mason jars. These jars are airtight, but because they’re clear you’ll need to have a dark place (closet, cupboard) to keep your buds during the cure. You can fill the jars with your buds, but don’t pack them too tightly, as they need air to “breathe”. If you prefer something airtight that’s also it’s own dark space, you may be interested in a curing bucket or a CVault storage container.

jar
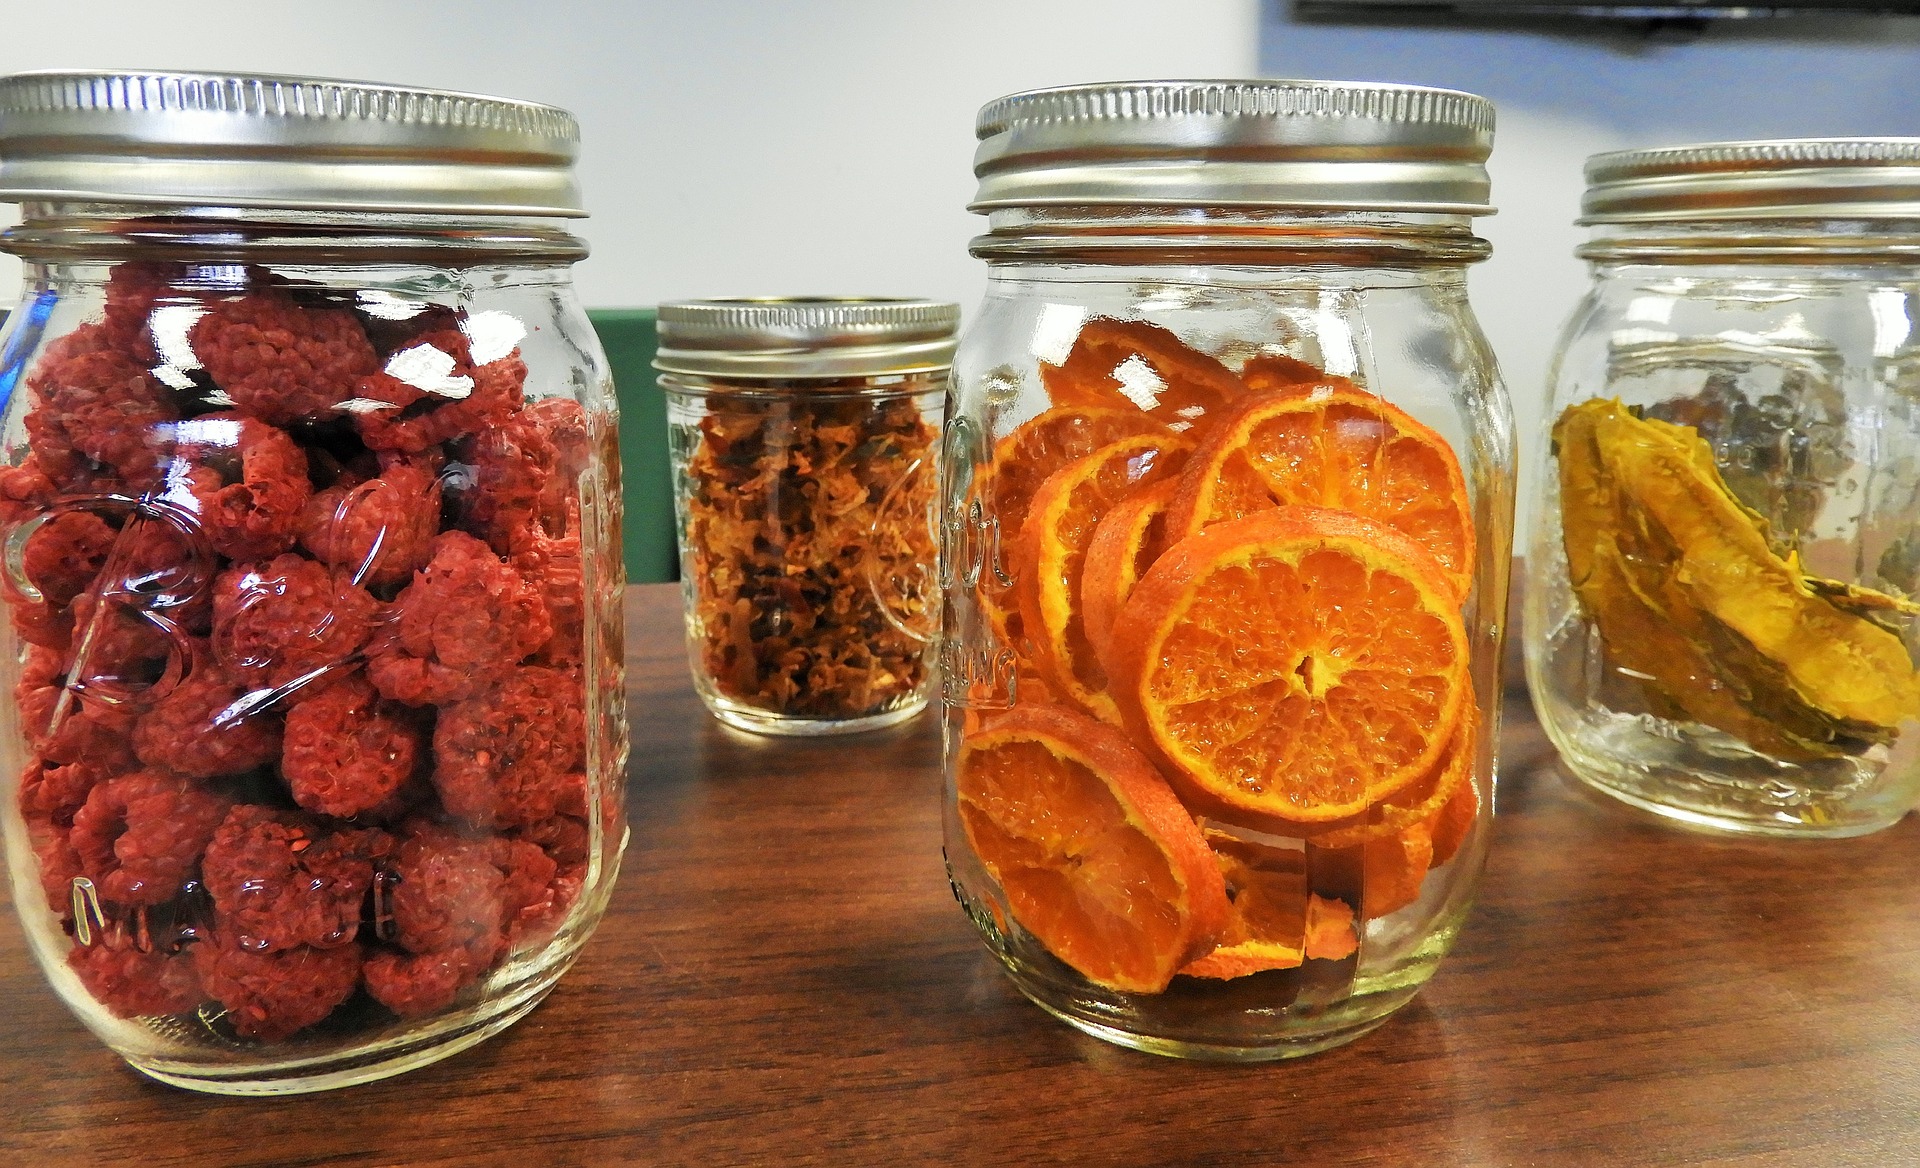
Jars like these. Except yours will contain weed, not fruit.

Short Cure — Keep the buds in the jars for 2-4 weeks

After your initial dry, your buds are going to smell like fresh cut grass and if you smoke them that’s about what they’d taste like. Cannabis curing is going to take care of this, while bringing out the more subtle flavors and smells you want from your buds. Additionally, this first stage cure is going to make for a much smoother smoke and can increase the potency of your harvest. After you’ve put your buds in the jars and placed them in a dark place for curing, there’s really not much to do but monitor the process. Check your buds by opening up the jars at least once a day. This is crucial during the beginning of the process since we don’t want the remaining moisture to facilitate mold growth. If your buds feel wet or moist when you check them, leave the jar open for 20 minutes to 1 hour (or until the buds are dry to the touch).

mold
Mold can be pretty, but you don’t want it on your plants

When curing, some growers recommend removing the buds from the jars completely and placing on a screen to dry. Either way, when the buds are dry you can close up the jars and put them back in the dark. Never put the buds back wet, because that’s how you get mold. It should be mentioned that it’s normal for your buds to feel wet periodically through the first stage of curing. This is a good thing because it means you didn’t overdry your buds during the initial drying process. However, the fact that there is moisture means you will have to regularly monitor and “burp” your jars.


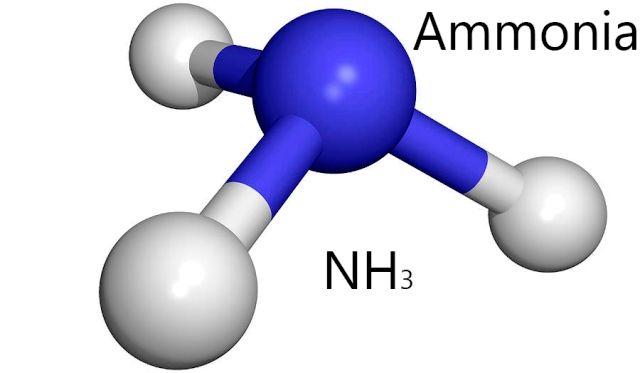
Important Note: If you open your curing jar and smell ammonia, your buds are not dry enough to begin curing. Remove these from the jar and resume your initial drying until your buds are dry enough for curing.

ammonia

Two weeks is considered the minimum amount of time for curing, but many growers cure longer. The important part of a short cure is opening your jars regularly for the first 2-3 weeks. This can’t be stressed enough. Now that you know about a short cure, you may wonder, “is there a benefit to curing longer than the recommended 2-4 week short cure?” Glad you asked new grower! Aren’t you smart?


Long Cure — Keep buds in the jars for 4 weeks to 6 months

Most growers are going to recommend a cure beyond 4 weeks. A longer will cure will result in more potent buds and an increased smoothness of the smoke. A longer cure will also bring out additional subtle flavors and smells from your buds. A long cure isn’t that different from a short cure, just longer (duh) and with a smaller premium on the monitoring. It’s still a good idea to check your buds from time to time but you can generally let your guard down a bit with regard to mold growth. If you choose this longer cure, you can sample your buds periodically and note any differences in flavor, smell, and potency for yourself.

pipe

Keep in mind that a longer cure will likely result in a color change in your buds. Don’t be alarmed if those greens and purples fade a bit, you haven’t lost anything by way of potency or flavor.


All right new grower! Now you know the basics of Cannabis curing. Make sure to check out or other articles on more advanced methods. Happy curing!


Do you want to receive the next Grower’s Spotlight as soon as it’s available? Sign up below!


Do you have any questions or comments?

Do you have any questions or comments?

Feel free to post below!


About the Author

Chris DeWildt is a graduate of Grand Valley State University and Western Kentucky University. He worked in education and publishing for ten years before joining the Growers Network team.


How to Grow Cannabis 122 – Genetics: Clones

In this How to Grow Cannabis article, Growers Network continues the discussion of genetics with an introduction to clones and cuttings.

The following is an article produced by Growers Network. This article is for educational purposes only. We do not claim any responsibility for any legal or financial repercussions of your decisions. Always consult with a lawyer or attorney before making a decision that could have a legal consequence!

What are Clones?

If you read our How to Grow Cannabis 121 article (about seeds), you’ll remember that we briefly mentioned clones as a source of genetics, and that we’d get to them later. Well, it’s later. Here we go.

clones

Again, not these kind of clones

Cloning Basics

A Cannabis clone is an plant grown directly from a cutting of a “mother” plant, and as a result it is genetically identical to the parent plant. We create clones from mother plants via the following steps.

  1. Take a cutting from mother
  2. Plant the cutting in medium with a rooting hormone and follow-up with rooting stimulant
  3. Transplant the cutting when roots are established

There are several great advantages to cloning versus growing from seeds. Cloning from a known “mother” is going to (generally) assure female plants, which is you want for the biggest and best flowers. Cloning also allows you to reproduce the exact characteristics that a desirable mother plant may have, without the variation you’d get from seeds. While there are clear advantages to using clones, it really depends on what you want from your grow.


Do you want to learn how to grow cannabis? Check out Growers Network University!


Let’s talk a little bit more about the steps involved:

1. Cutting

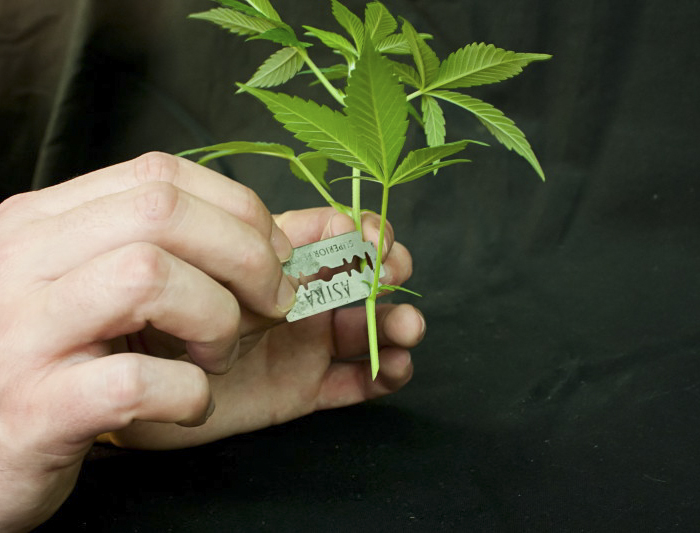
Without getting too technical (there will be time for that in later articles), a cutting is made from removing a low growing branch from the mother plant. The cut end of the small branch is where the new roots will develop. The cut end is placed into water to avoid air bubbles getting into the stem, which will hinder new growth.

cutting

A “cutting” for a clone


2. (Re)Plant in a Medium

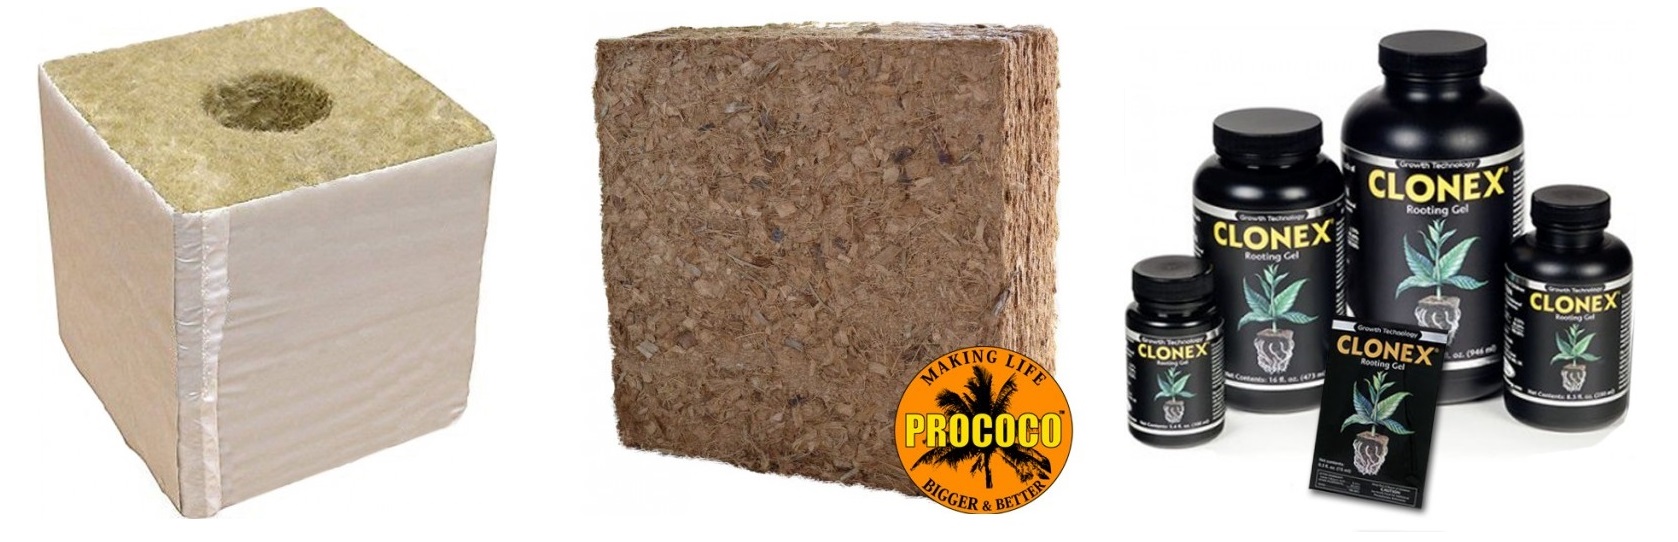
The cutting is then typically given a rooting hormone to help stimulate the formation of new roots. The cutting is then placed into a rockwool cube or other growing medium and kept in a humid environment while the new roots develop from your cutting. Typically, to keep the environment humid, the clones are placed into plastic domes that are kept warm and moist. Clones should be ready for transplant in 10-14 days but be sure to visibly inspect your roots before you transplant.

cloning materials

Rockwool cube, coco medium, and cloning hormone (not to scale)


3. Transplanting

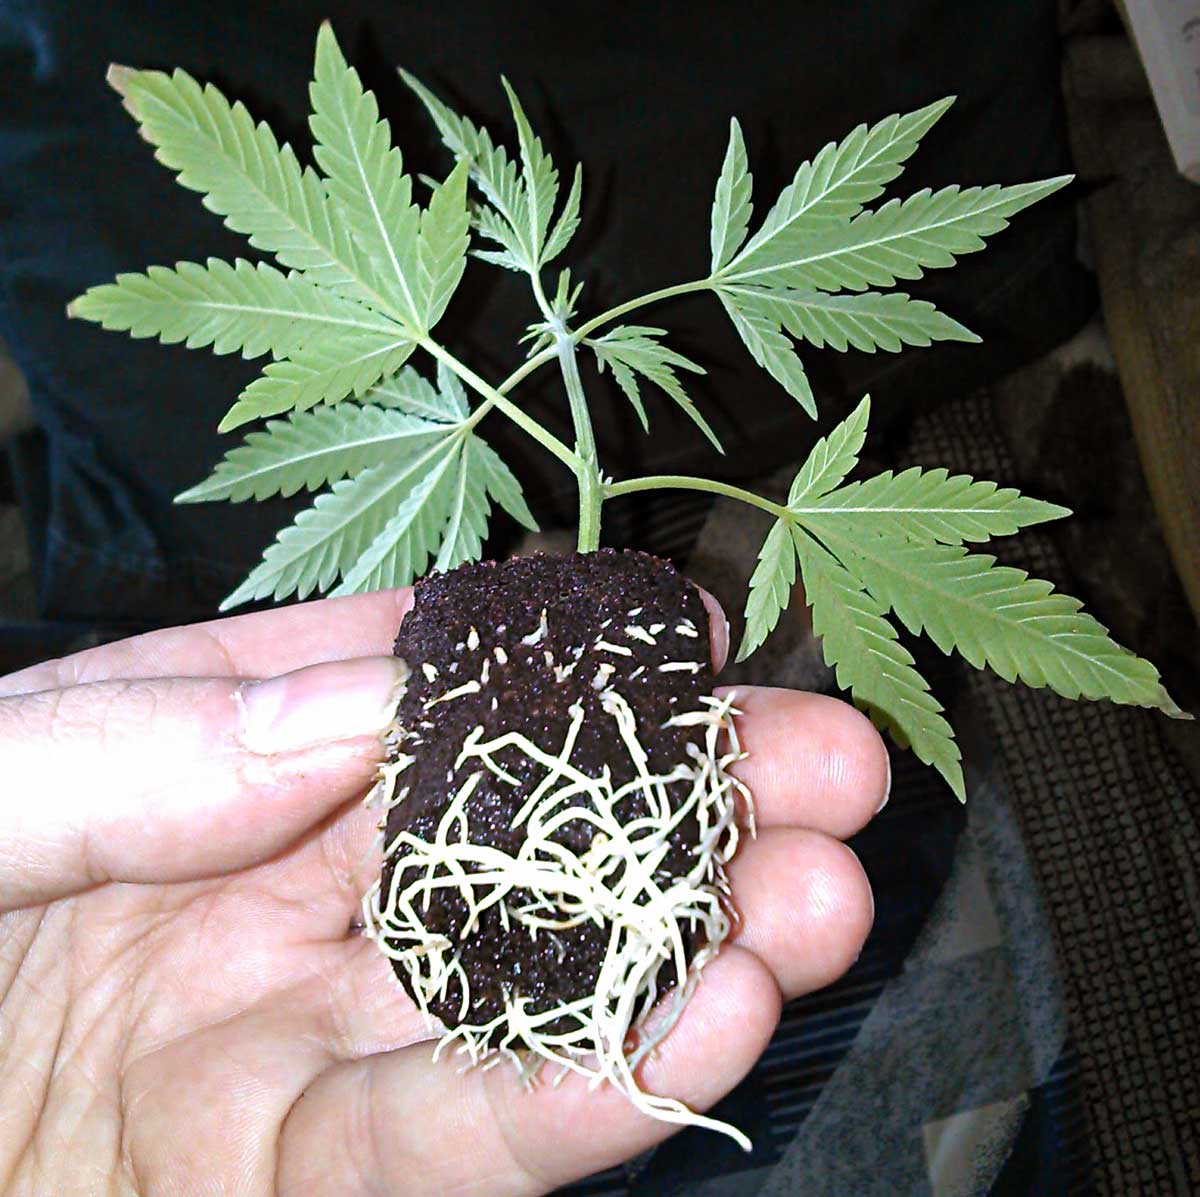
When the roots have been established, you can transplant your new clones into a larger container for continued growth. The added space allows the roots to spread and for plant growth to really take off. Once you’ve transplanted the clone and it continues growing successfully, you have entered the vegetative state.

transplant

A good-looking clone ready for transplant. Note the healthy roots


So there you have a very basic introduction to Cannabis clones. Please be sure check out the other “How to grow Cannabis” articles, including our further reading on intermediate and advanced genetics. In future articles we’ll also discuss the specifics of how to take cuttings and properly root the cuttings.


Do you want to receive the next Grower’s Spotlight as soon as it’s available? Sign up below!

Do you have any questions or comments?

Do you have any questions or comments?

Feel free to post below!


About the Author

About the Author

Chris DeWildt is a graduate of Grand Valley State University and Western Kentucky University. He worked in education and publishing for ten years before joining the team at Growers Network. In addition to editing the GN blog, Chris also works on the Canna Cribs series.


How to Grow Cannabis 162 – Trimming

In this How to Grow series article, Growers Network discusses the whys and hows of trimming your Cannabis flowers after harvest.

The following is an article produced by Growers Network. This article is for educational purposes only. We do not claim any responsibility for any legal or financial repercussions of your decisions. Always consult with a lawyer or attorney before making a decision that could have a legal consequence!


How to Grow 162 – Trimming


It’s the moment you’ve been waiting for. It’s time to snip those buds from your plants and get them ready for the world. But you may notice that your buds don’t look as pretty and well kempt as the ones you’re used to. Fear not, new grower. Your buds just need a little “manicure.” Keep in mind that this article is meant to be a basic guide to trimming. There are a few of methods and techniques available related to trimming, but at this time we’ll just go over the basics of what a new grower needs to know. Author’s Note: ALWAYS be aware of the legality of Cannabis and Cannabis products in your region. Don’t get yourself in trouble with the law!

scissors

Do you want to learn how to grow cannabis? Check out Growers Network University!


Why Trim?


Is trimming even necessary? Good question, and while the answer is technically “no,” there are a number of benefits to trimming your buds that will make you wonder why anyone would NOT do it. Granted, it can be a little time-consuming, but in the end it’s worth it.

Benefits of Trimming


A Better Consumption Experience

  1. The sugar leaves around your buds have a lower concentration of trichomes than the buds. Removing them allows you to create a more powerful and uniform consumption experience.
  2. When cured, trimmed buds have a more consistent moisture content which is going to make for a better tasting smoke and less ash.
  3. Smoke inhaled from burning the leaves is going to be much harsher and take away from the smoking experience.

Appearance

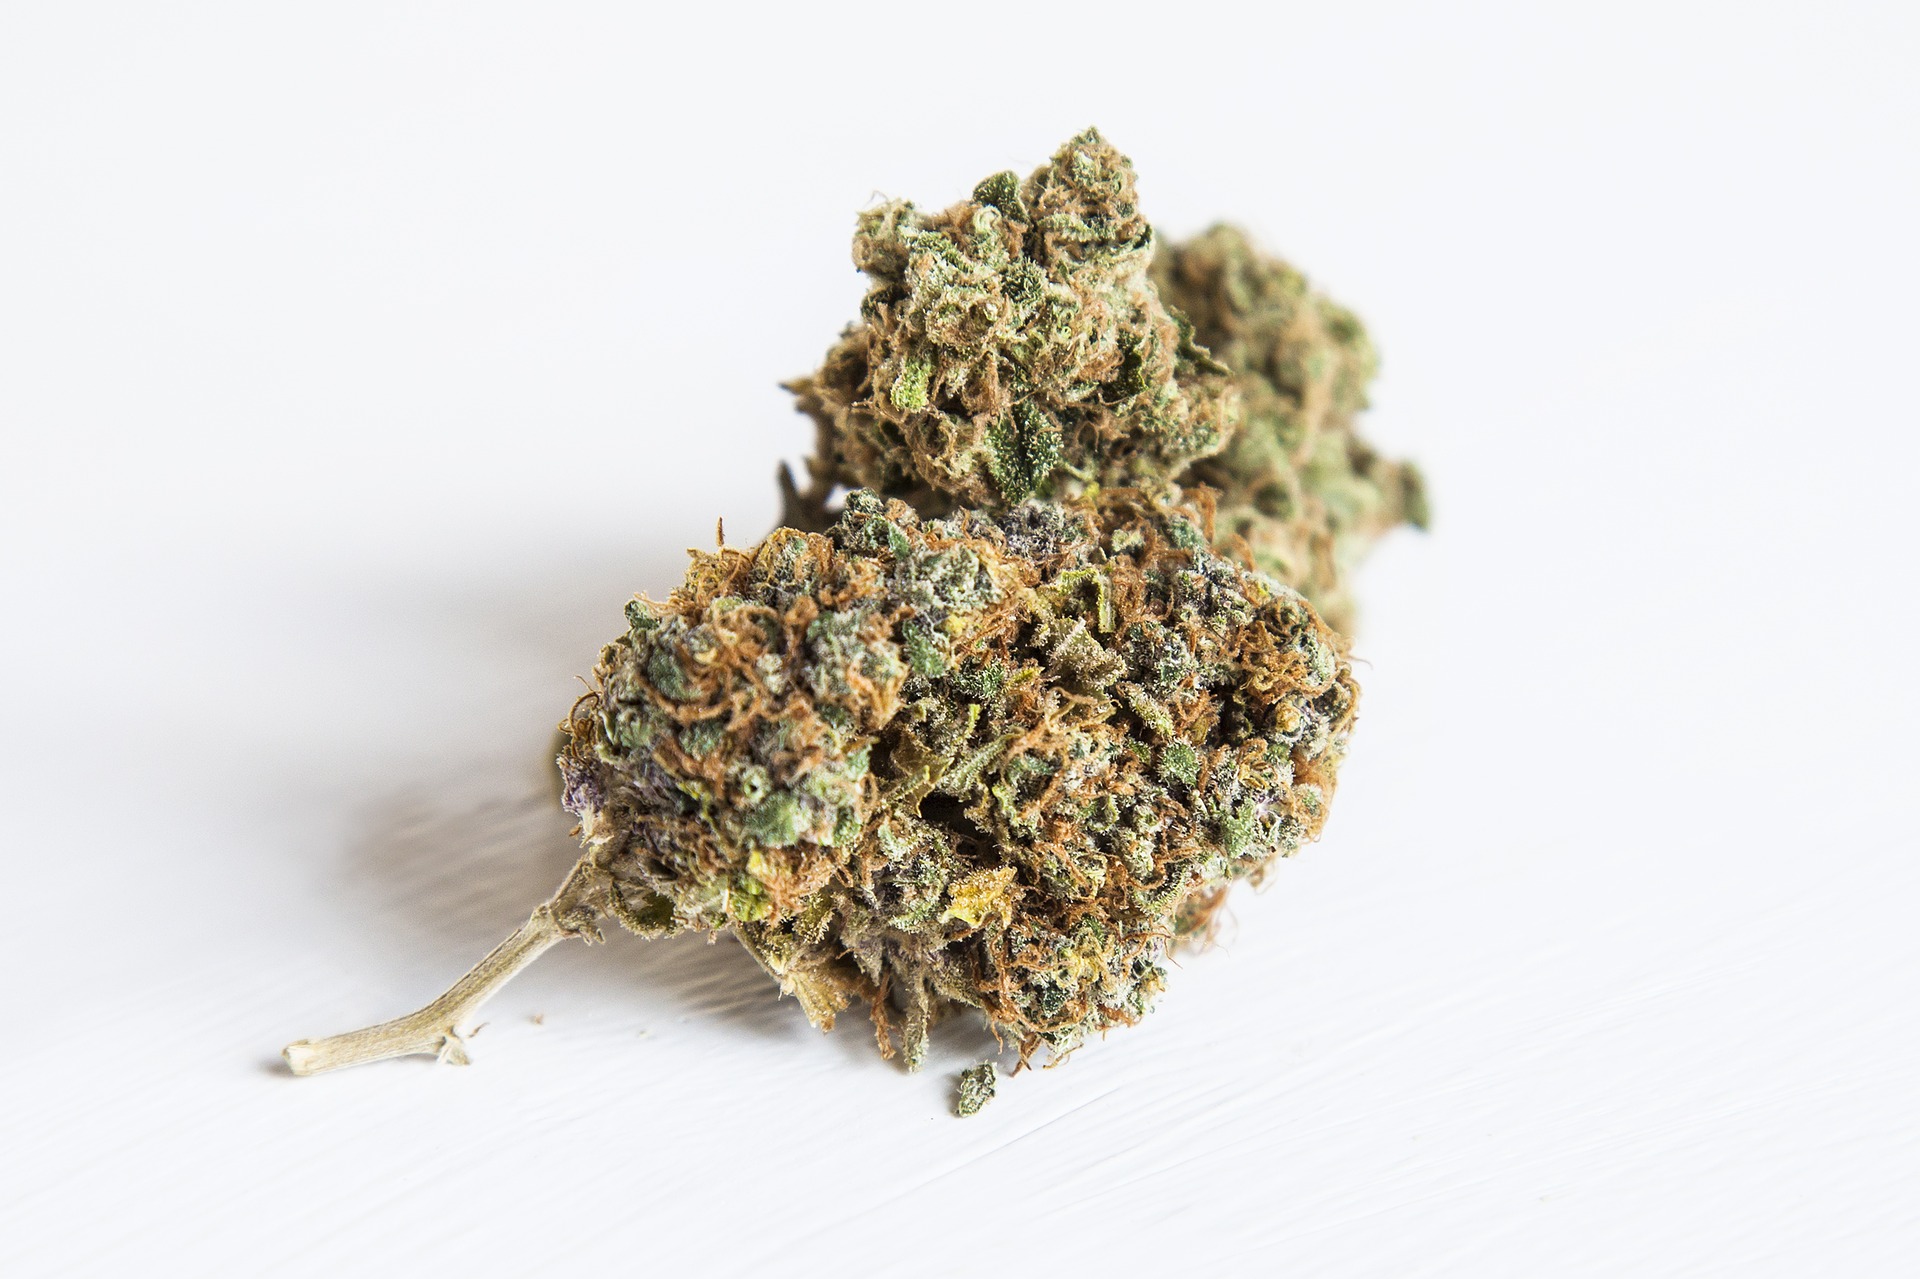
Another reason to trim your buds is aesthetics. You want them to look nice, and nice-looking buds typically have the leaves and other excess plant materials removed. This may seem like a superficial reason, but the fact is that people like and expect attractive buds.

bud

Some of the Trim Has Value

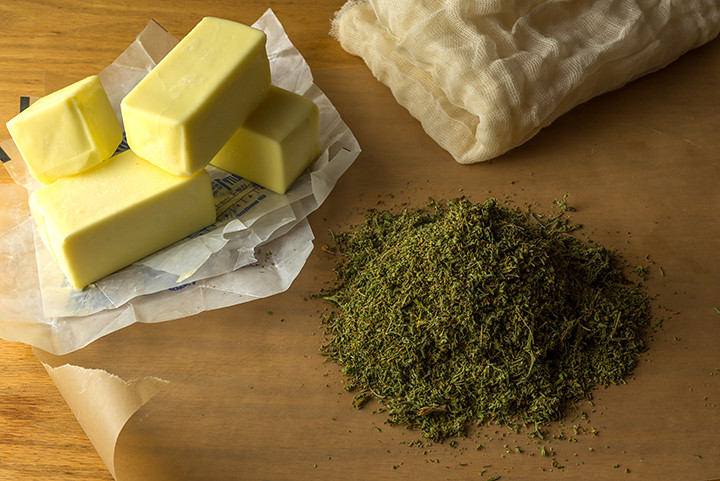
Though some of the trim you remove is essentially garbage, the sugar leaves around your buds are full of trichomes that you can use for making hash, butter, and other Cannabis extracts, which we’ll cover how to make in a future article. Definitely worth saving!

butter

Wet Trimming vs Dry Trimming

Before we deal with the basics of how to trim we should talk a little bit about the difference between the “wet” and “dry” methods of trimming.

Wet Trimming

This method is often recommended for the novice grower and simply means you trim the buds before drying. You cut your branches from the plant and immediately begin your trim. This method allows easier access to the stem of each bud as well as the base of the sugar leaves. Another benefit to this method is a reduced chance of mold. Since post-harvest molds tends to grow between the stalk and the bud, wet trimming helps you avoid this. Wet trimming is an overall faster process than dry trimming, but remember: you’ll still need to dry your buds when you’re done with the wet trim!

Dry Trimming

This method is recommended for growers who want to slow the drying process. Dry trimming advocates argue that the slower drying results in a more pleasant smoke. A downside to this method is that the leaves around your buds have also dried and are more difficult to remove efficiently. This is considered a more nurturing method than wet trimming, but it’ll be up to you to see decide just how much you care and if the extra time is worth it.


How to Trim

table


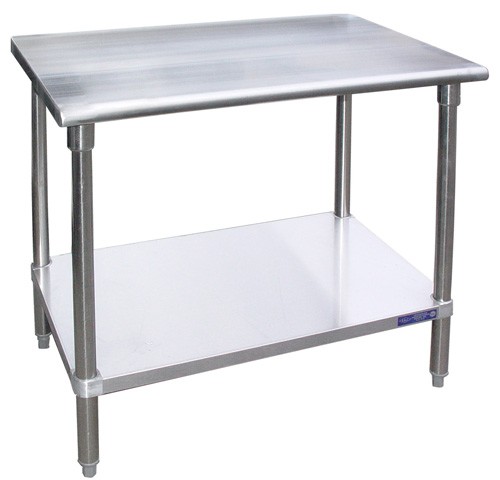
Before you begin you’ll need a few supplies. Sharp, pointed scissors are a must. You’ll also want a clean, flat, non-porous surface to work on and a trimming tray to collect your beautifully manicured buds. Trimming is a time consuming process, so make sure you have a comfy chair and some tunes or something to entertain your ears. Lastly, an apron and gloves are a good idea because trimming is a sticky process and the trichomes will adhere to not only your scissors, but to your hands and clothes tool.

The Process


Initial Cuts

After drying your Cannabis you can begin cutting buds from the stalk of your plant (if you haven’t done this prior to drying). This is done to separate the buds from one another to make each one easier to work with. These cuts will require something stronger than your fine-pointed scissors. A sharp knife or strong pair of gardening scissors should work.


Remove the Fan Leaves

When you harvest it’s okay to remove the fan leaves at that time. Remember these leaves don’t have any trichomes and you can remove all of them prior to drying your harvest.

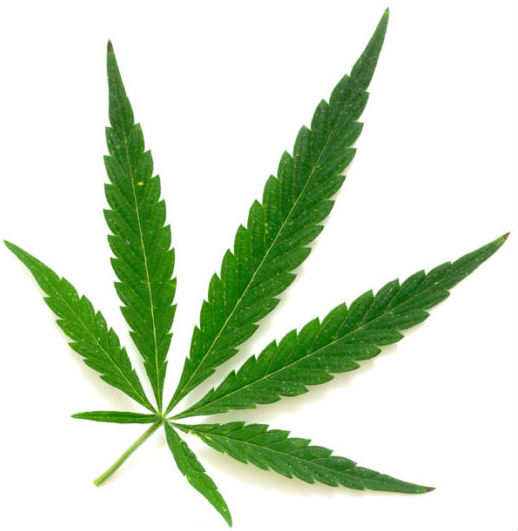
fan leaf

Fan Leaf

Trim Those Sugar Leaves

Unlike the fan leaves, sugar leaves are covered with trichomes and definitely worth saving. Set these aside in a tray or baggy and collect them for making hash or infused butter. This part of the process is where you really need those fine-tipped scissors to get at the base of these leaves without cutting into your buds in the process.

sugar leaves

Sugar Leaves. Note the trichomes dusting the leaves


So now you know the basics of trimming your buds. Hopefully we’ve been able to convince you of the benefits. It really is worth the extra effort, not just so your flowers are “pretty,” but for all that extra trim too. Happy Trimming!


Do you want to receive the next Grower’s Spotlight as soon as it’s available? Sign up below!


Do you have any questions or comments?

Do you have any questions or comments?

Feel free to post below!

About the Author

About the Author

Chris DeWildt is a graduate of Grand Valley State University and Western Kentucky University. He worked in education and publishing for ten years before joining the team at Growers Network. In addition to editing the GN blog, Chris also works on the Canna Cribs series.